When you open your shed and there’s only enough space to take a step or two inside…you know it’s time to purge and organize.
But, most likely you’ve gone to the shed to find something, realized it was a lost cause and shut the door on the problem. So, today let’s dig into how you can make your shed functional again!
Here is how you can organize your shed in 5 steps. Let’s get started.
- Clean out your shed.
This is probably the worst part of the job. Get everything out of your shed. Don’t leave anything in it. Then, sweep it out completely and purge the ceiling and walls of any dust or cobwebs. You probably won’t do this for a while, so clean it thoroughly!
As you’re taking things out of your shed, start to organize the items into categories. Here are some examples:
-Decorations
-Yard Tools
-Tools
-Garden Supplies
-Toys
You may have other items in your shed, but these are some of the most popular. The important thing is that you start to take inventory of the “stuff” you have.
- Purge items you don’t need anymore.
Then, as you go through each category, make two more piles: throw away and keep.
You’ll want to be hard on yourself during this part of the process. It may be difficult to get rid of some items because they have sentimental value. Try limiting yourself to 1 tub to fill with sentimental items and then get rid of the rest.
- Create a storage plan.
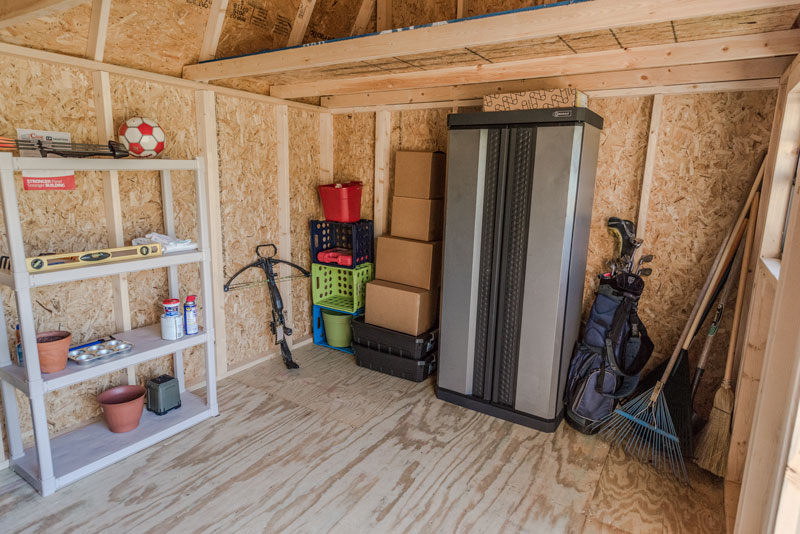
You may not be much of a planner or this may be your favorite part of the process, but it will help as you start to put things back into your shed. So, create a blueprint of your shed and start organizing. If you have a lot of larger items you’re needing to store, you may actually want to measure those to see exactly how much space they take up.
Then, think about the number of tubs you’ll need and how you can use your ceiling and wall space to its full potential. Check out these great organizational ideas for your shed!
Designate a spot in your shed for each of your main categories to be stored. You may want to first prioritize your categories or items. What will you need most often? What will you want access to more than other things? Answering those questions will help you determine the right placement for everything.
This way you’ll be able to keep all of those items better organized in the future. But, don’t forget that over the next few years you and your family will continue to accumulate more things. So, be sure to leave space for new items you’ll want to store in the future.
Lastly, don’t let yourself do all this work only to end up with the exact same problem that you had before! So, designate a walking path for your shed. You want to ensure you’ll have access to all of the items you’ll need when you need them.

- Add storage tools (shelves, pegboard, etc).
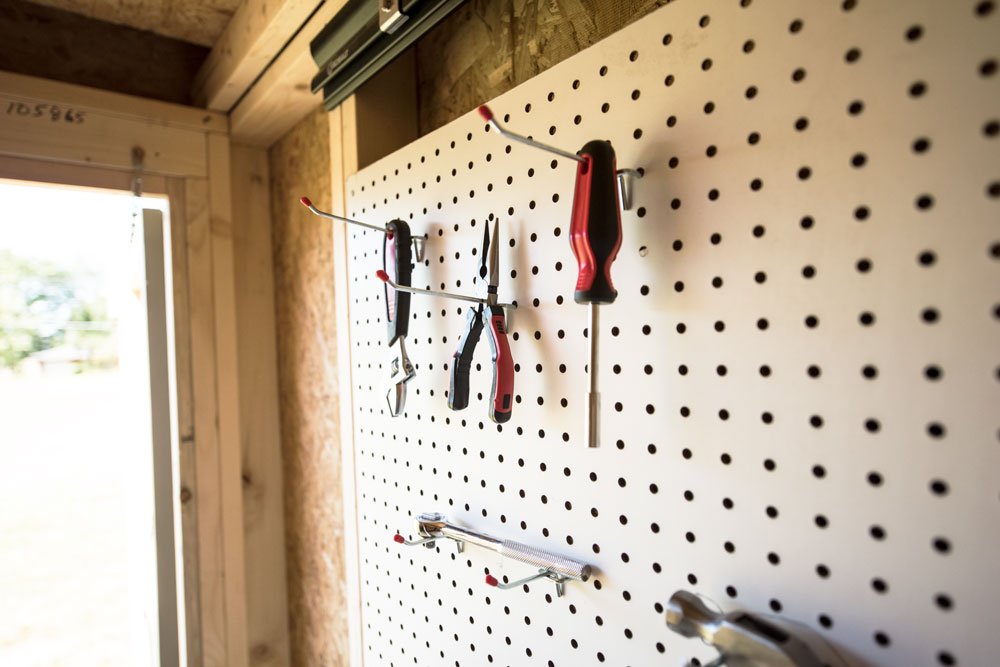
From your storage plan you may need new accessories for your shed. You can add shelving, plastic drawers, or attach a pegboard or various sized hooks to a wall. Depending on the size and weight of all of your things, you’ll need different solutions throughout your shed.
So, purchase and add those items before you start moving everything back into your shed.
- Fill your shed again!
Lastly, stick with your plan, label and fill. As you fill each bin or drawer, label it appropriately. You think you’ll remember what’s in the only red tub at the top of the shelf in the very back…but wait a few months and you may not!
Hopefully, with your well thought out plan you can keep your pathway clear and all of your things organized in your portable building.
It can be difficult to keep up with everything, but after you’ve done this once, it will get easier. Next summer the task to purge and organize wont be as overwhelming!
{{cta(‘9121eb8e-c4ee-48a0-befe-6f097fdb7588′,’justifycenter’)}}
