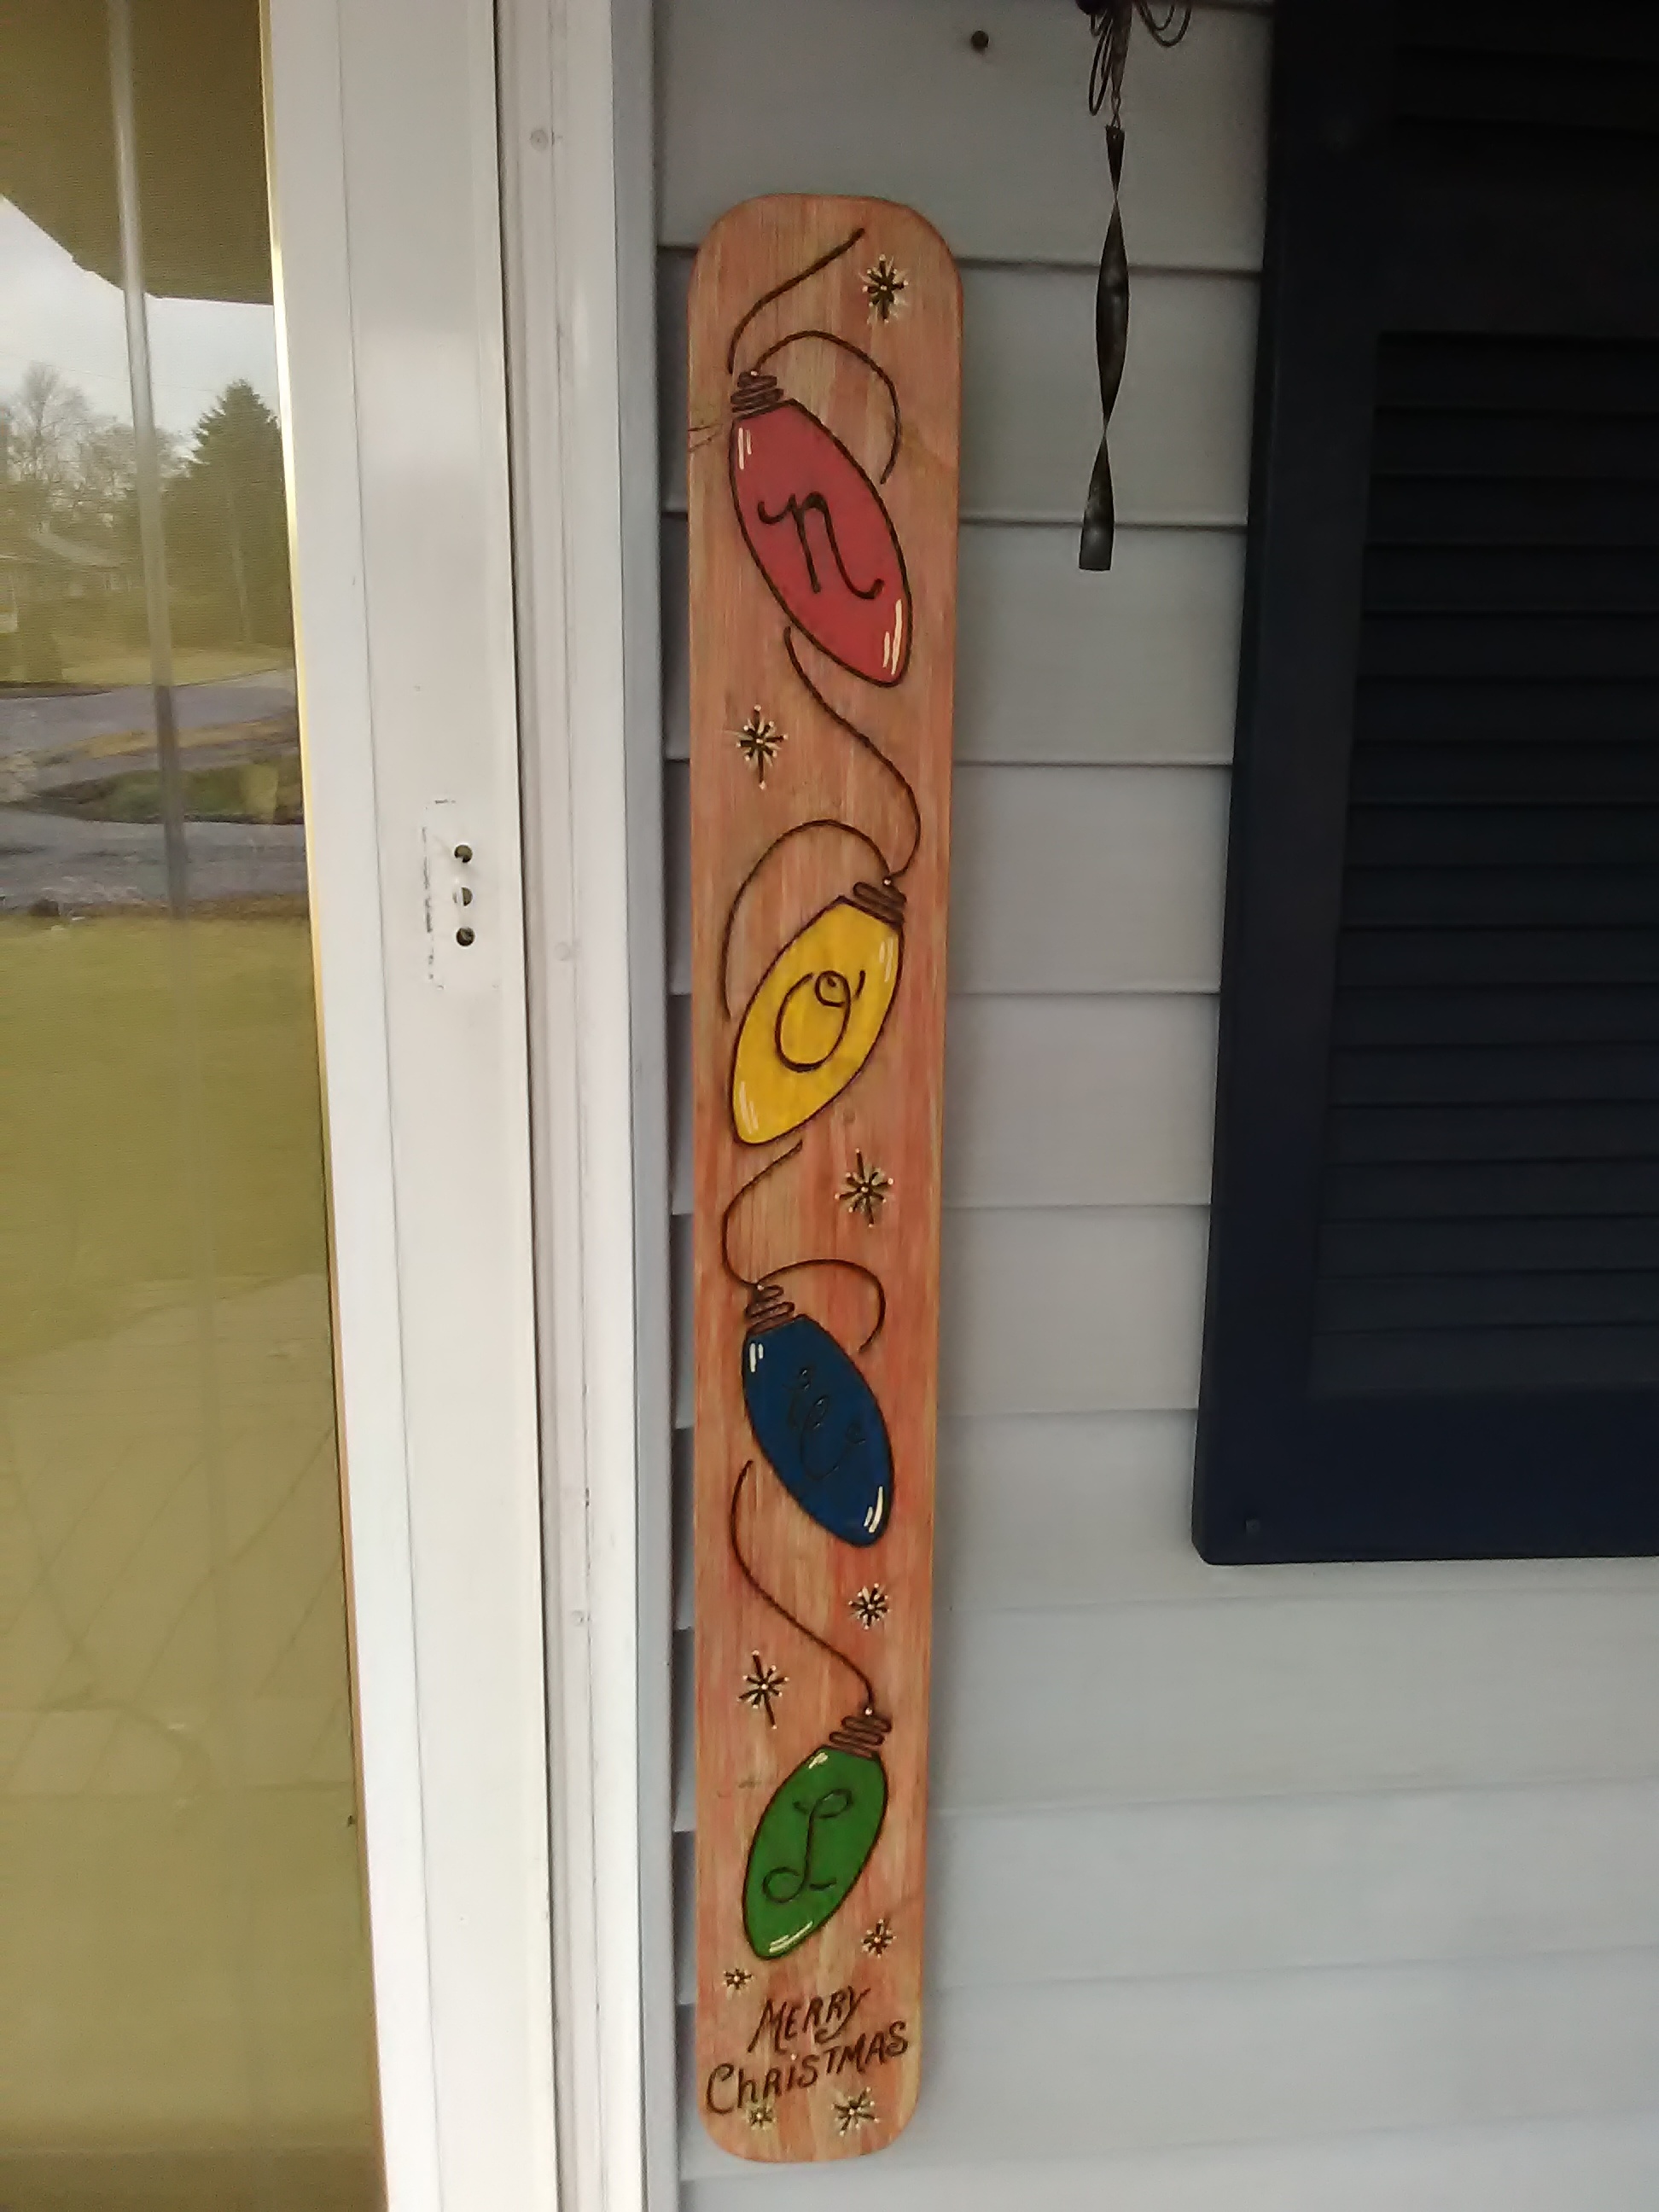
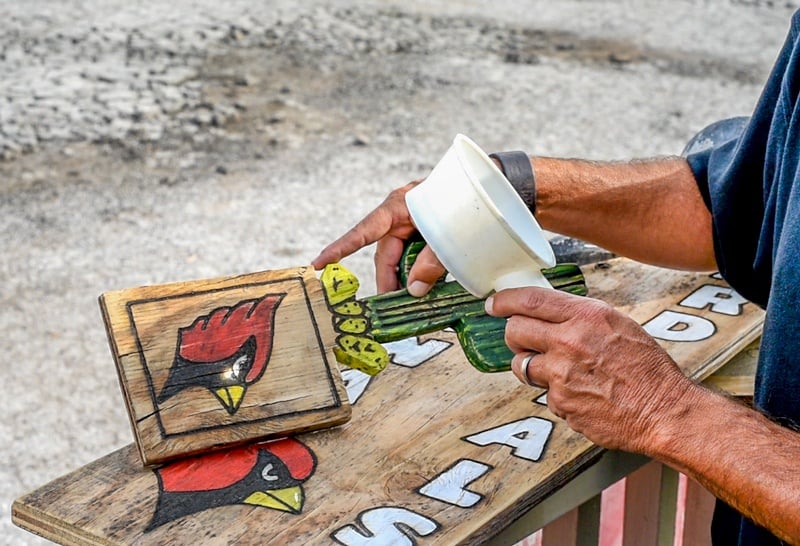
As one of our Cook dealers Mike Otis has shown us, Cook sheds are a great place to create! Our portable buildings can be used for craft rooms, workshops or even your office.
Mike in his spare time uses the sun and a magnifying glass to create artwork for his customers or for his own home. He burns designs into the wood to create signs for sheds, businesses and homes. This is called wood burned artwork or pyrography.
He’s created pieces featuring holidays, people’s interests and favorite sports teams. How does he do it? With these three main ingredients:
-direct sunlight
-creativity
-patience

Here’s what you’ll need to create this Yuletide DIY project. Mike always uses a magnifying glass, but there is also the option to use a pyrography pen as well:
-scrap wood
-magnifying glass
-sunglasses/protective eye gear
-thin scraper tool
-permanent marker
-paint of desired color
-paint brush
*Before using the magnifying glass, be sure to understand that this can be a dangerous tool in the sunlight. Don’t allow the beam of light to contact your skin or you could suffer from a burn yourself. Also, the beam will be too bright to look at directly, wear tinted protective eye gear or use a pyrography pen as an alternate option.
To start your wood burning project, decide on your design and trace this onto the wood. You could do holiday words like “Peace & Joy”, or “Merry Christmas.” Or you could design something holiday related, like Christmas lights, Christmas trees, or ornaments. You can print out your design and use carbon or transfer paper or you can just freehand it.

Then, on a bright sunny day, take your magnifying glass and position it where the beam of light acts as your pen, following the lines of your design. It doesn’t take long and you’ll begin to see a dark burn mark appear. Be sure to wear your protective eye gear as the beam is very bright and shouldn’t be looked at directly. Treat it as if you were welding. Remember there is the alternative option of using the pyrography pen.
After you’ve burned your design into the wood once, take a thin scraper tool to scrape out the burn. You’ll see it will start to create a little groove. You’ll want to do this process multiple times so you can create a deeper groove around your design. The last time you burn into the wood leave the burn and go over it with a permanent marker.
After you’ve burned your design into your wood, you may decide to leave it as is, or you may decide you want to paint part of it.
Either way, you’ll have a unique piece to call your own, or to give to a friend this holiday season!
Looking for more holiday tips and tricks? Download our guide below.
{{cta(‘c918ca49-05a9-4a92-9ee3-0a471a39a1ad’,’justifycenter’)}}
