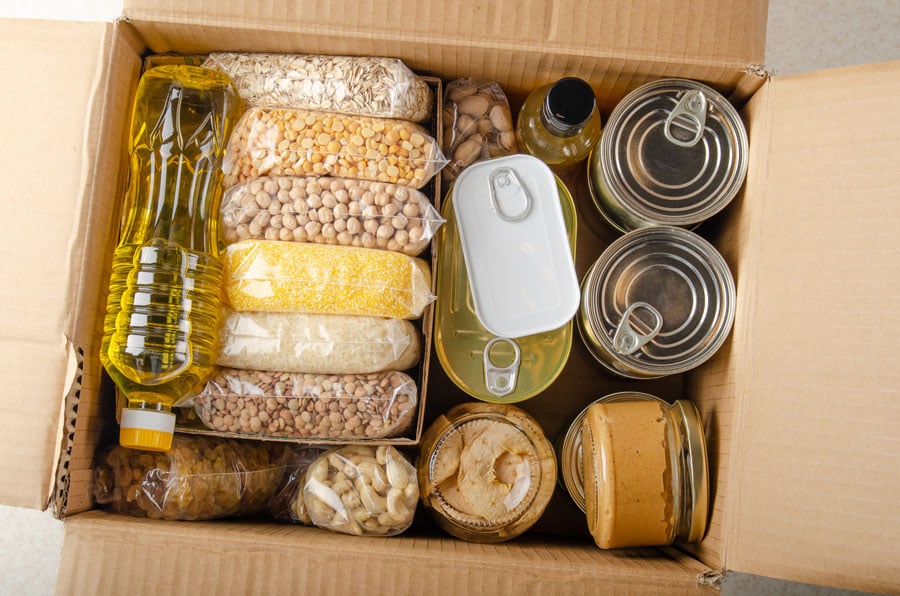
Preparedness is key for any emergency situation, but as we all know, time can take a toll on our once very thought out preparedness plans. So, whether your area is prone to hurricanes, flooding, snow/ice storms, or you’re worried about quarantining, it’s important to keep your emergency kit and plan up to date.
Whether you’re just starting your kit or you’re needing to revamp it, below are 5 tips to remember to help you keep your kit ready at all times:
- Keep a record.
This can be tedious, but it’s worth it. You don’t want your kit to sit there for 5 years only to actually need it and discover half of your food supply has spoiled. Or, that you’ve packed much less than you really needed because you thought it “looked” like enough.
It’s important to create a record of everything that’s going inside your emergency bags or containers. From food to toiletries to tools, etc. We recommend creating a spreadsheet that has this all lined out.
We’ve created an example below to help you create your own. It’s best if you pick foods that won’t expire for at least 6 months that way you’re only updating your kit once or twice a year. You’ll notice too that we include quantity and the number of servings. Especially for high protein foods, the number of servings can help you see if you have enough food for everyone in your family for at least a few days, if not weeks.
|
Food Item |
Quantity |
Expiration Date |
#Servings |
| Tuna Cans | 6 | 2/2/2024 | 12 |
Here are more tips on building your kit from ready.gov.
- Set reminders on your phone or calendar.
Once you’ve created your list as noted above, check for the earliest expiration date and set a reminder 1 month ahead of that date. Then, you can:
-
- Start eating that food so it’s not wasted.
- Replenish your supplies.
- Reset your reminder for the next earliest expiration date.
Also, as a general rule of thumb, set a reminder for every 6 months to just glance through your list and discuss your plans with family. If the power goes out, what does everyone do? If you need to evacuate, where is the first place you will all go? It’s not fun to talk about these things, but you’ll all feel a little more secure knowing there’s a plan in place.
- Organize as you assemble.
It’s probably best if you gather everything you want assembled first and then decide where it will all go. If you do have items that will expire quicker, you’ll want those on the top of your container and grouped together, to make the switch easier months down the road. Also, think about what you can and can’t carry/move. Make sure you and your spouse can move the container, which probably means there’s a limit to the number of canned goods you can place in any one box.
Also, think about what you have in the house that you never use that could be repurposed for storage. Do you have an old suitcase that’s already taking up space? Or, do you have old backpacks you haven’t used in years that are still in good shape? Use these items to begin packing your emergency kit.
- Create a designated place that’s out of sight, but still easy for everyone in the family to get to.
One of the reasons to pack your emergency kit is because you’re less likely to use anything from it on a whim. The other reason is so if you need to evacuate, you’ll already have it all packed and ready to travel. But again, remember your kids and your spouse need to not only know where the kit is, but have easy access to it just in case you aren’t able to help.
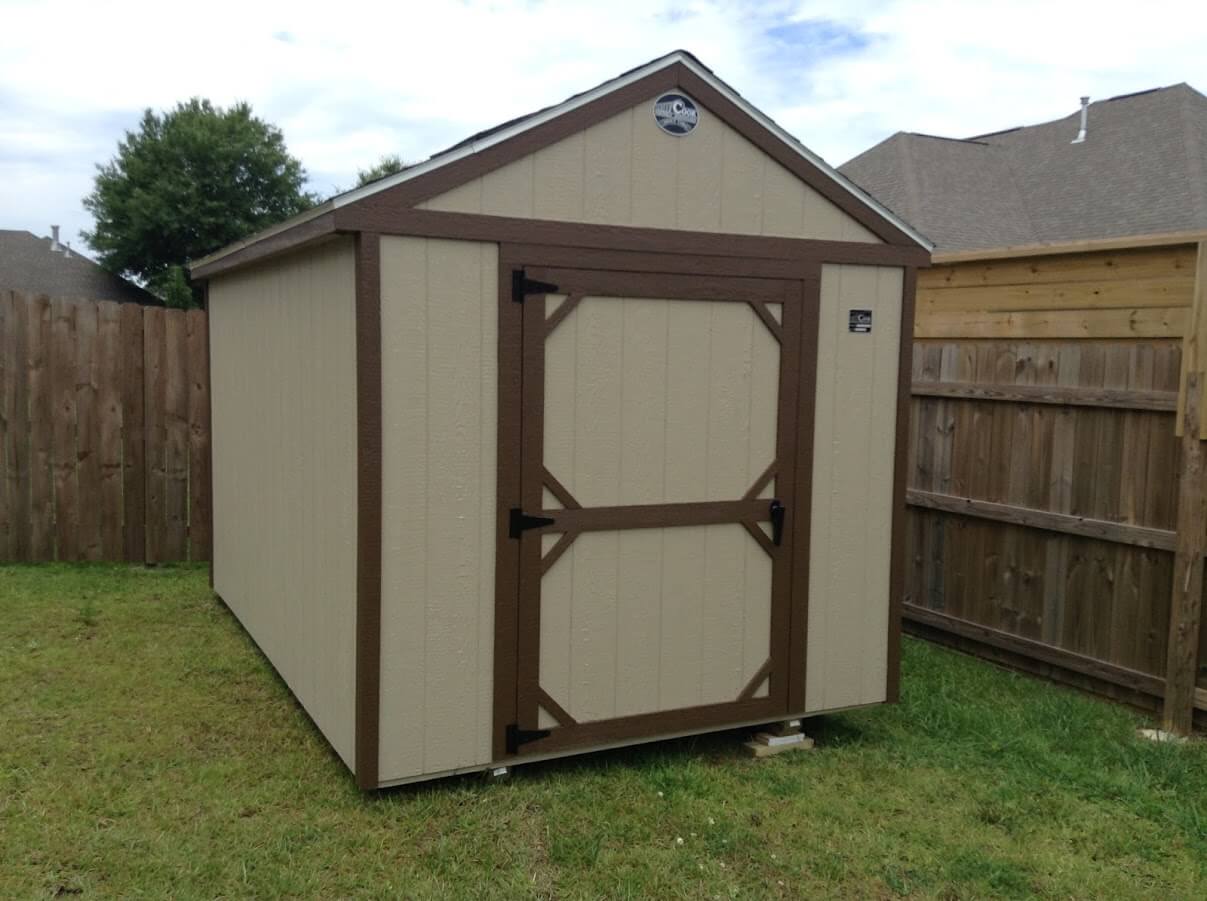
The best spot for your kit might be in the garage, your spare bedroom’s closet or even in your storage shed.

- Don’t forget to pack these extras in a backpack for each family member.
Again, it’s just best to have all the items mobile ready. In any emergency, you don’t want to be searching for things when you need to be packing the car in an evacuation or boarding up the windows before a hurricane or moving everyone into one room during a winter power outage. Here are a few things to consider adding to your family’s backpacks:
-
- Toiletries (soap, deodorant, lotion, toothpaste, toothbrushes, wet wipes)
- Towels
- Change of clothes, socks and shoes
- Small first aid kit
- Flashlight
- Weather radio
- External battery or solar powered phone charger
- Bag of nonperishable foods high in protein and calories (peanut butter, tuna packets, protein bars, beef jerky, etc.)
- Folder with the following included:
- Phone numbers and addresses of family members and close friends/neighbors and the family doctors.
- Copies of key documents (license, passport, social security card, birth certificate, marriage license, insurance policies, etc.)
- Small amount of cash
Plus, don’t miss these items that need to be added to your kit. It’s hard to set aside time to do this with so many other things going on in life, but it’s an important step. So take the weekend, do a little grocery shopping and get the kids to help you build your emergency kit spreadsheet. Then put it all together so it’s accessible and organized.
It only takes a few hours and then from there you’re just maintaining it every 6 months to a year. For different tips specific to disaster types, visit www.ready.gov.
Some of your items you might even be able to store in a portable building. Or, you may need to relocate some home items into your shed so you’ll have room for your emergency kit. Take a look at our shed options here or click below for our quick storage shed sizing guide.
{{cta(’98a33e97-e87d-4bef-a5c6-79899374a7b3′,’justifycenter’)}}
