There’s a little paradise found on a dead-end street in Kentucky, where a creek runs alongside and a new workshop has just been set up. When everything is in full bloom, his backyard is the perfect spot to work or relax, even though it’s near the city. It’s what inspired the name for Chris’s hobby shop, Calming Creek Wookworks.
{{cta(‘e2b2e42c-16bb-4b04-9ee3-690a929bca1f’,’justifycenter’)}}
Chris has tinkered with woodworking, but never had enough space or equipment to really dive into this hobby. “It relaxes me, and when you get done you have a feeling of achievement,” he explained. At one time he had a small garage where he would tinker with a few home projects, but he never had enough room to really do what he wanted.
Now, with his Cook Handyman shed he has plenty of room to do what he enjoys and has a few big projects in mind already. He hopes to make a bedroom suite for his daughter and maybe even a custom executive desk.
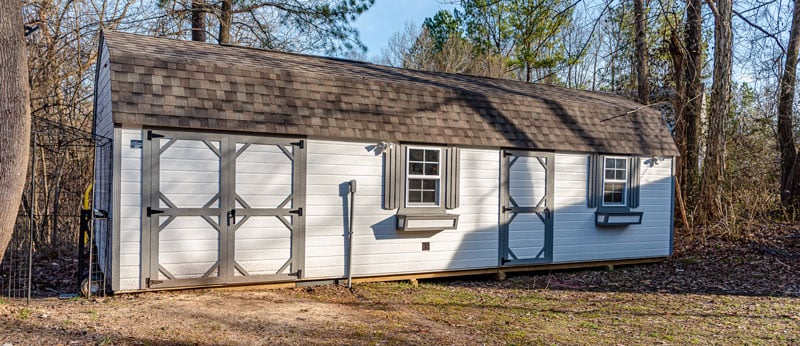
He purchased a Cook Handyman shed and requested a few additions:
- He chose the additional 6” high ceiling.
- Most Handyman’s have two openings in the loft, but he wanted a place to store long pieces of lumber. So the majority of the shed’s ceiling is lofted. Chris then cut out an access hole so he can store smaller items without disrupting his lumber storage.
- He requested the exact specifications of the building. “Melanie was very helpful in providing me with schematics of where the windows and doors were going to be so I could plan out my electrical diagram,” Chris explained.
But, there was one small issue. The backyard, though expansive, did have a rather narrow entrance from the road. Plus, there was a creek bordering it with a steep drop-off. So, would the shed even fit?
A Very Tight Fit
He knew he couldn’t get concrete trucks back here so building a on-site wasn’t an option. But, he wasn’t sure a Cook shed was going to be a realistic option either.
“It was really tight getting it back in here. How are they ever going to get it sitting here where we want it? But Cook took care of it,” Chris said. The space was so tight, the delivery driver had to go on top of the deck with about half of the building. “Then it was an inch this way and an inch that way, to get it in place,” he said, “I didn’t think delivery was going to work.”
Thankfully Chris had a free site check done on his property. This is where a Cook driver comes out to assess the access from the road to the exact location the customer wants the shed. Doing this assessment first can potentially save you a lot of time and money. Sounds like this particular delivery took some patience, but we made it work!
{{cta(‘e2b2e42c-16bb-4b04-9ee3-690a929bca1f’,’justifycenter’)}}
Maximizing Space & Building Work Stations
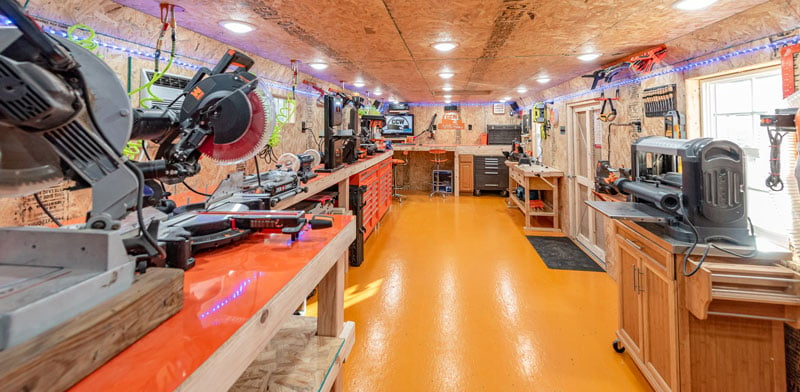
With the schematics, Chris was able to plan every electrical outlet, light and workstation before the shed ever entered his property. He knew that no matter where he was working in the shop, he wanted to ensure he had a well lit project and not shadows blocking his view.
“I set out to really try to save space. You don’t realize what it’s actually going to be until you get done,” Chris explained. “I thought, well, I’m going to be really cramped when it was all said and done, but I’ve got plenty of room.”
He started his workshop by putting down an epoxy floor and then had electrical put in. There’s over 1,000 feet of wiring in his building. He didn’t think it would take more than 150 feet, but that would not have been enough! (Remember, if you plan to put in electricity, you’ll need to work with a licensed electrician for your safety. Read this article for more information.)
Now, let’s take a look around his shed at the additions he’s built inside:
- He built a vented cabinet around the air compressor to help keep down the noise and keep sawdust out.
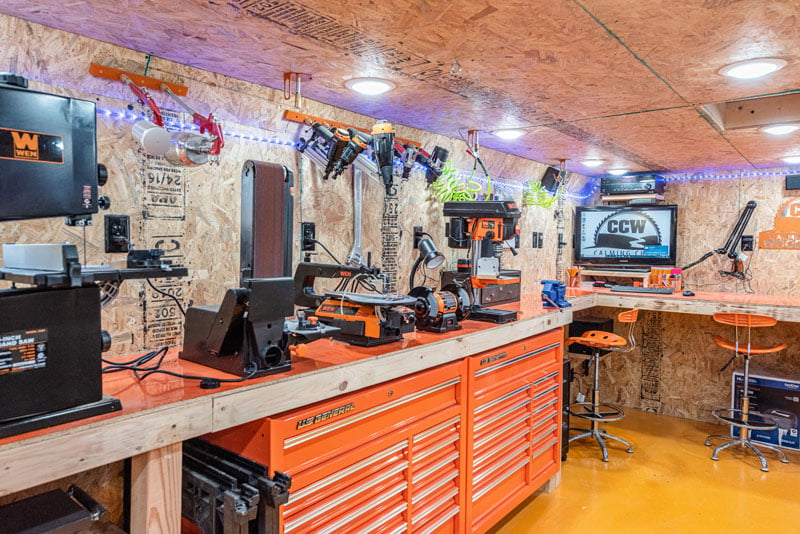
- He’s added an air filtration system, mini-fridge, and a ventless mini-computer system.
- He has multiple workstations with a variety of tools such as a band saw, dovetail cutter, scroll saw and planer.
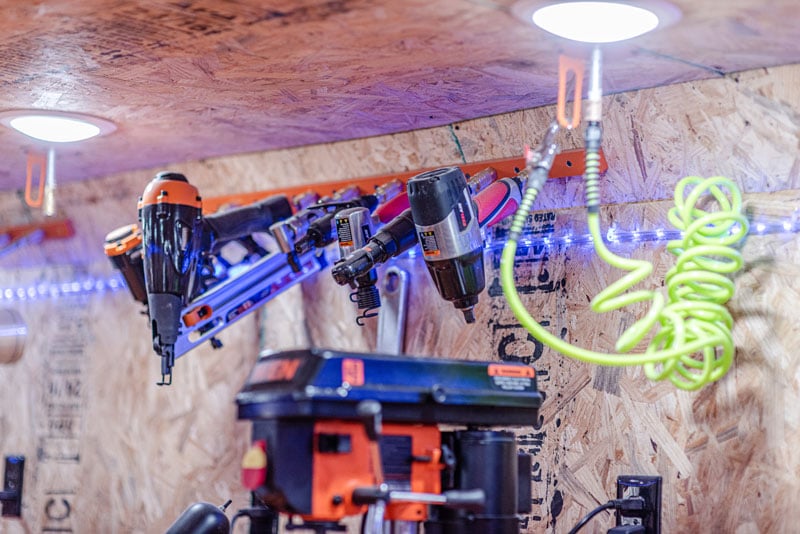
- He added a bracket with quick release couplers to store his air tools. This way they’re out of the way and it keeps dust from being able to get inside the air inlets when they’re not in use.
- He built a workbench along two walls that’s perfect for standing and working at each station. Underneath he’s built shelving or added metal tool chests.
“I used to have a garage with a little bit of equipment, but nothing like this,” Chris said as he demonstrated each piece of equipment. “I’ve got the capability now with the planer and the joiner, I can take rough, saw milled lumber and make something beautiful.”
Why a Cook Shed?
There are many portable building options on the market. Chris did look around at a few different portable building options, but settled on Cook.
Why? Here’s what he said:
“I got a Cook shed, and I’m very pleased with it. What stood out to me about Cook was the experience behind the name and how long they’ve been in business, it’s the most bang for your buck for this kind of building.”
We started our business in 1984 and have been helping customers find ‘more room for their stuff’ ever since!
Ready to build YOUR workshop? Let’s get started!
{{cta(‘e2b2e42c-16bb-4b04-9ee3-690a929bca1f’)}}