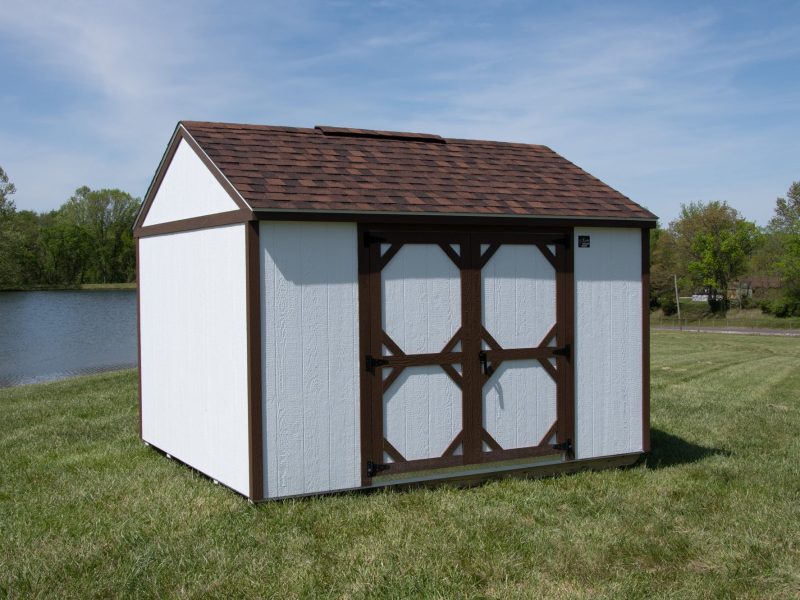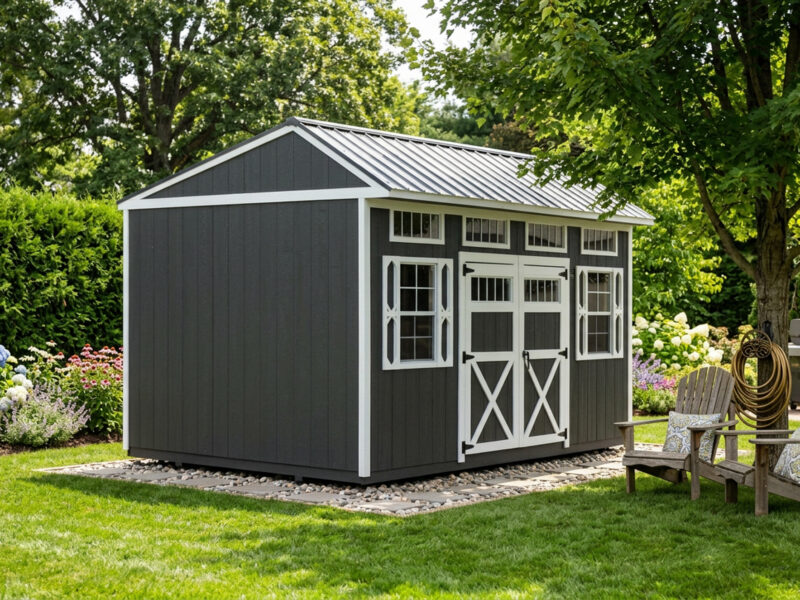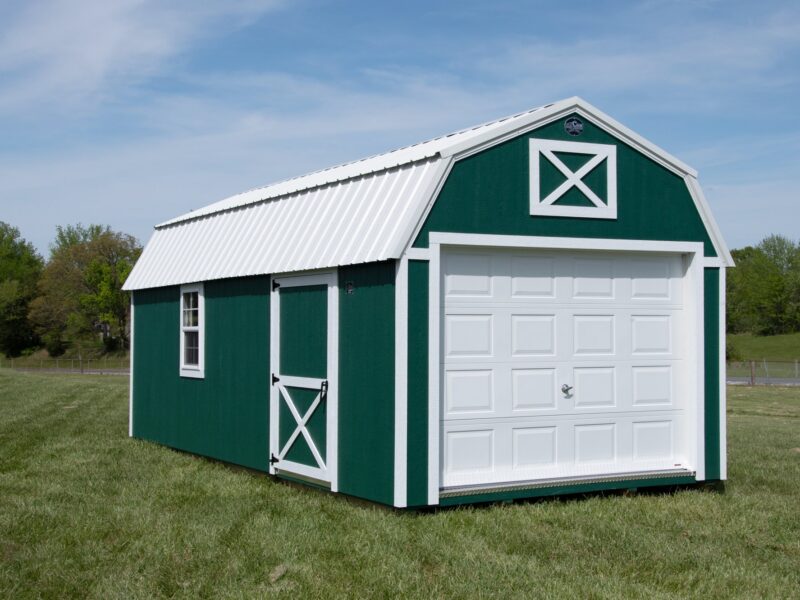

To winterize a wood shed, control moisture first: seal the gaps around the door, keep vents open so damp air escapes, inspect the roof and re-caulk failing seals before the first freeze, lift stored gear off the floor, and clear snow load promptly. A dry, ventilated building protects the structure and everything in it all winter.
Cook builds wood portable buildings, and wood behaves differently in cold, wet months — it breathes, it moves with humidity, and it rewards a little seasonal attention. The steps below run in the order you should actually do them: from the outside shell inward to the gear on your floor.
1. Control moisture and condensation
The real enemy in a closed-up shed is condensation, not the cold. When warm, damp air inside meets cold walls and roof panels, moisture beads up, drips onto whatever you’ve stored, and invites mildew and rot. Keep interior humidity low and give moisture somewhere to go.
- Don’t store anything wet. A damp mower deck, a hose with water still in it, or a bag of grass clippings off-gasses humidity all winter inside a sealed building.
- Set a low-cost hygrometer inside so you can see when humidity climbs. Under roughly 50% is the target.
- Use moisture absorbers (silica or calcium-chloride tubs) in a small, tightly closed building, and empty them on a schedule — they only work until they’re full.
- Keep items off the floor. The floor is the coldest, dampest surface in the building, and anything sitting on it wicks moisture.
2. Keep the shed ventilated
It sounds backwards to add airflow when you’re trying to keep a building warm, but a wood shed needs to breathe. Seal it up completely and you trap humid air — which is exactly how you get condensation and musty gear. Aim for a slow, steady air exchange, not a draft.
Leave any factory gable or soffit vents unobstructed; don’t stack boxes against them. If your building runs humid, a couple of passive vents let moist air rise out while drier air draws in low. On a mild, dry winter day, open the door for an hour to flush the air. Ventilation and moisture control are two halves of the same job: the drier the air and the more it moves, the less anything condenses.
3. Check the roof and seals before the freeze
Do this while the weather is still cooperating — you don’t want to find a leak during the first hard freeze. Walk the outside and inside of the building looking for anything that lets water in.
- Roof surface: look for lifted, curled, or missing shingles and any exposed nail heads. Address these before snow sits on them.
- Trim and seams: inspect where the roof meets the walls and along any ridge line. Wood expands and contracts, so seals that were tight in summer can open slightly by fall.
- Windows and vents: re-caulk gaps around window frames and vent flashing with an exterior-grade sealant.
- Inside ceiling: check for daylight, water stains, or soft spots. A stain now is a leak later.
Because a Cook building is delivered fully built and set on a level base rather than a poured foundation, glance at the base perimeter too: make sure the ground still drains away from the building and that leaves or mulch aren’t piled against the wood, holding moisture against the skids.
4. Seal the door and keep it that way
The door is the biggest single gap in the building, and it’s the one you open and close all winter. A door that doesn’t seat cleanly lets in wind-driven rain, snow, and the exact damp air you’re trying to keep out.
- Check that the door closes flush and latches without a fight. Cold-weather wood movement can throw the alignment off.
- Add or replace weatherstripping around the frame and a sweep along the bottom to block the draft at the threshold.
- Keep the door fully closed and latched when you’re not in the building. A door left cracked is an open invitation for moisture, blowing snow, and animals looking for a warm corner.
5. Protect the gear you’re storing
Cold and damp are hard on the things most people keep in a shed. A little prep now saves a spring full of surprises.
- Fuel and engines: add fuel stabilizer to mowers, trimmers, and blowers, or run the tank dry per the manufacturer. Old, untreated fuel gums up carburetors over a long cold spell.
- Liquids that freeze: move paint, adhesives, and water-based products indoors — freeze-thaw cycles ruin them and cans can split.
- Batteries: pull batteries from tools and lawn equipment and store them somewhere temperature-stable.
- Off the floor, onto shelving: boxes, cushions, and fabric belong on shelves or in the loft, not on the cold slab. Lofted styles give you that dry overhead space by default — use it for anything moisture-sensitive.
- Cover, but let it breathe: if you cover equipment, use a breathable cover, not a sealed tarp that traps condensation underneath.
6. Be smart about snow load
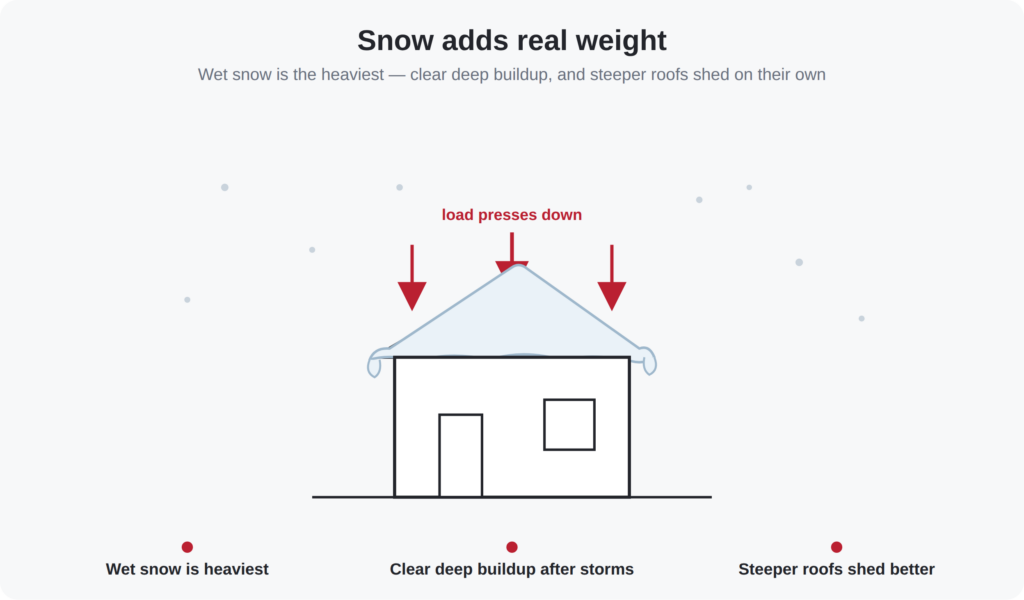
A well-built wood roof handles normal winter snow, but you still play a role. Wet, heavy snow and back-to-back storms are what to watch, and the simplest habit is to not let it pile up unmanaged.
- After a heavy or wet storm, rake accessible snow off a low roof with a roof rake from the ground. Don’t climb onto a snowy or icy roof.
- Watch for ice dams and for snow that slides off a nearby house roof and lands on the shed.
- Keep the area around the building clear so melt has somewhere to drain instead of pooling against the base.
If you’re spec’ing a new building for a region that gets serious snow, your local Cook dealer can talk through the styles and any roof considerations for your area.
Adding a shed before winter? Get the site right first
If a new building is part of your cold-weather plan, the base and the delivery path matter as much as the building itself. Cook delivers fully built and sets the building in place on a level, non-permanent base — typically a gravel pad — so good drainage under and around it is what keeps the wood dry all winter.
- Plan a gravel pad about 12″ larger than the building footprint on each side, so water sheds off the roof and drains away from the wood instead of pooling at the base.
- A free on-site check through your local Cook dealer sorts out pad prep and access before delivery day — which matters most when the ground is about to freeze.
Buildings like the Garden Shed and the Utility style are common winter-storage picks, while a Lofted Garage keeps equipment and small vehicles out of the weather. If you’re finishing a space to actually use through winter, the Studio is built for it. Financing is available too: Rent-to-Own — Ask Your Dealer.
Winterizing checklist
- Clear out anything wet; set a hygrometer and moisture absorbers
- Keep vents clear; flush the air on a dry day
- Inspect roof, seams, and windows; re-caulk failing seals
- Confirm the door seats flush; add weatherstripping and a sweep
- Stabilize fuel, pull batteries, move freezable liquids indoors
- Get gear off the floor and into the loft or onto shelving
- Rake heavy snow off the roof from the ground; keep the base draining
Planning to build in a snow-heavy or permit-sensitive area? Our shed permit guides cover what to check before delivery.