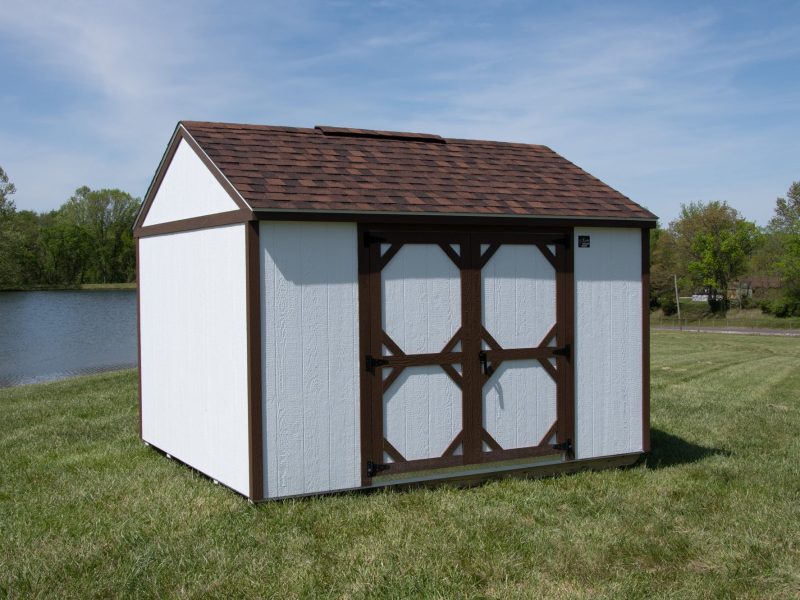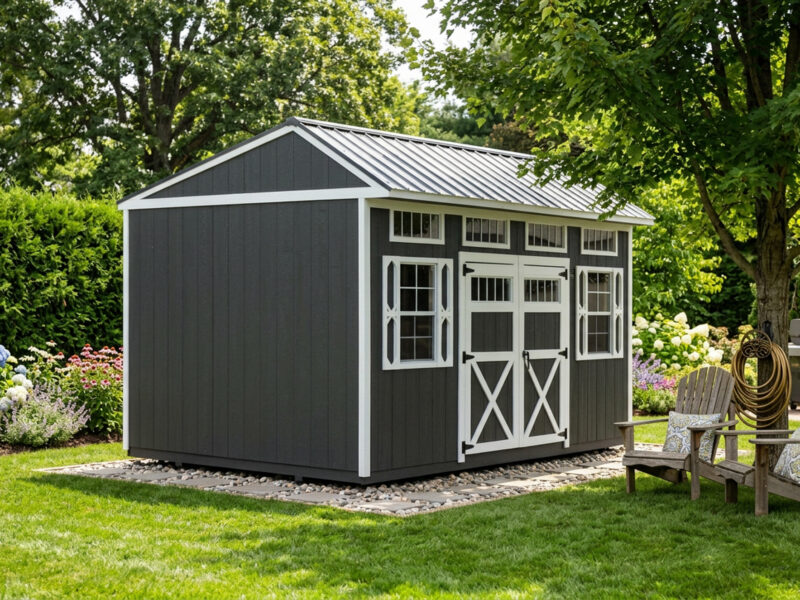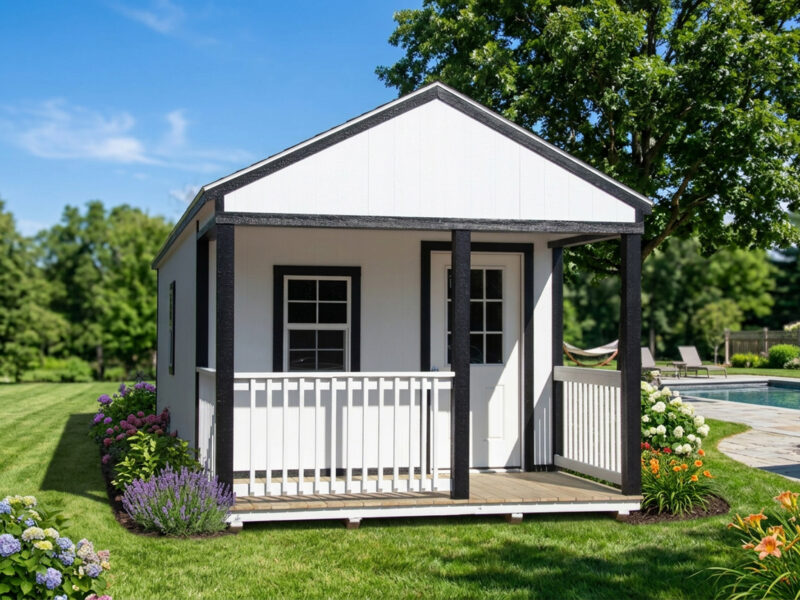
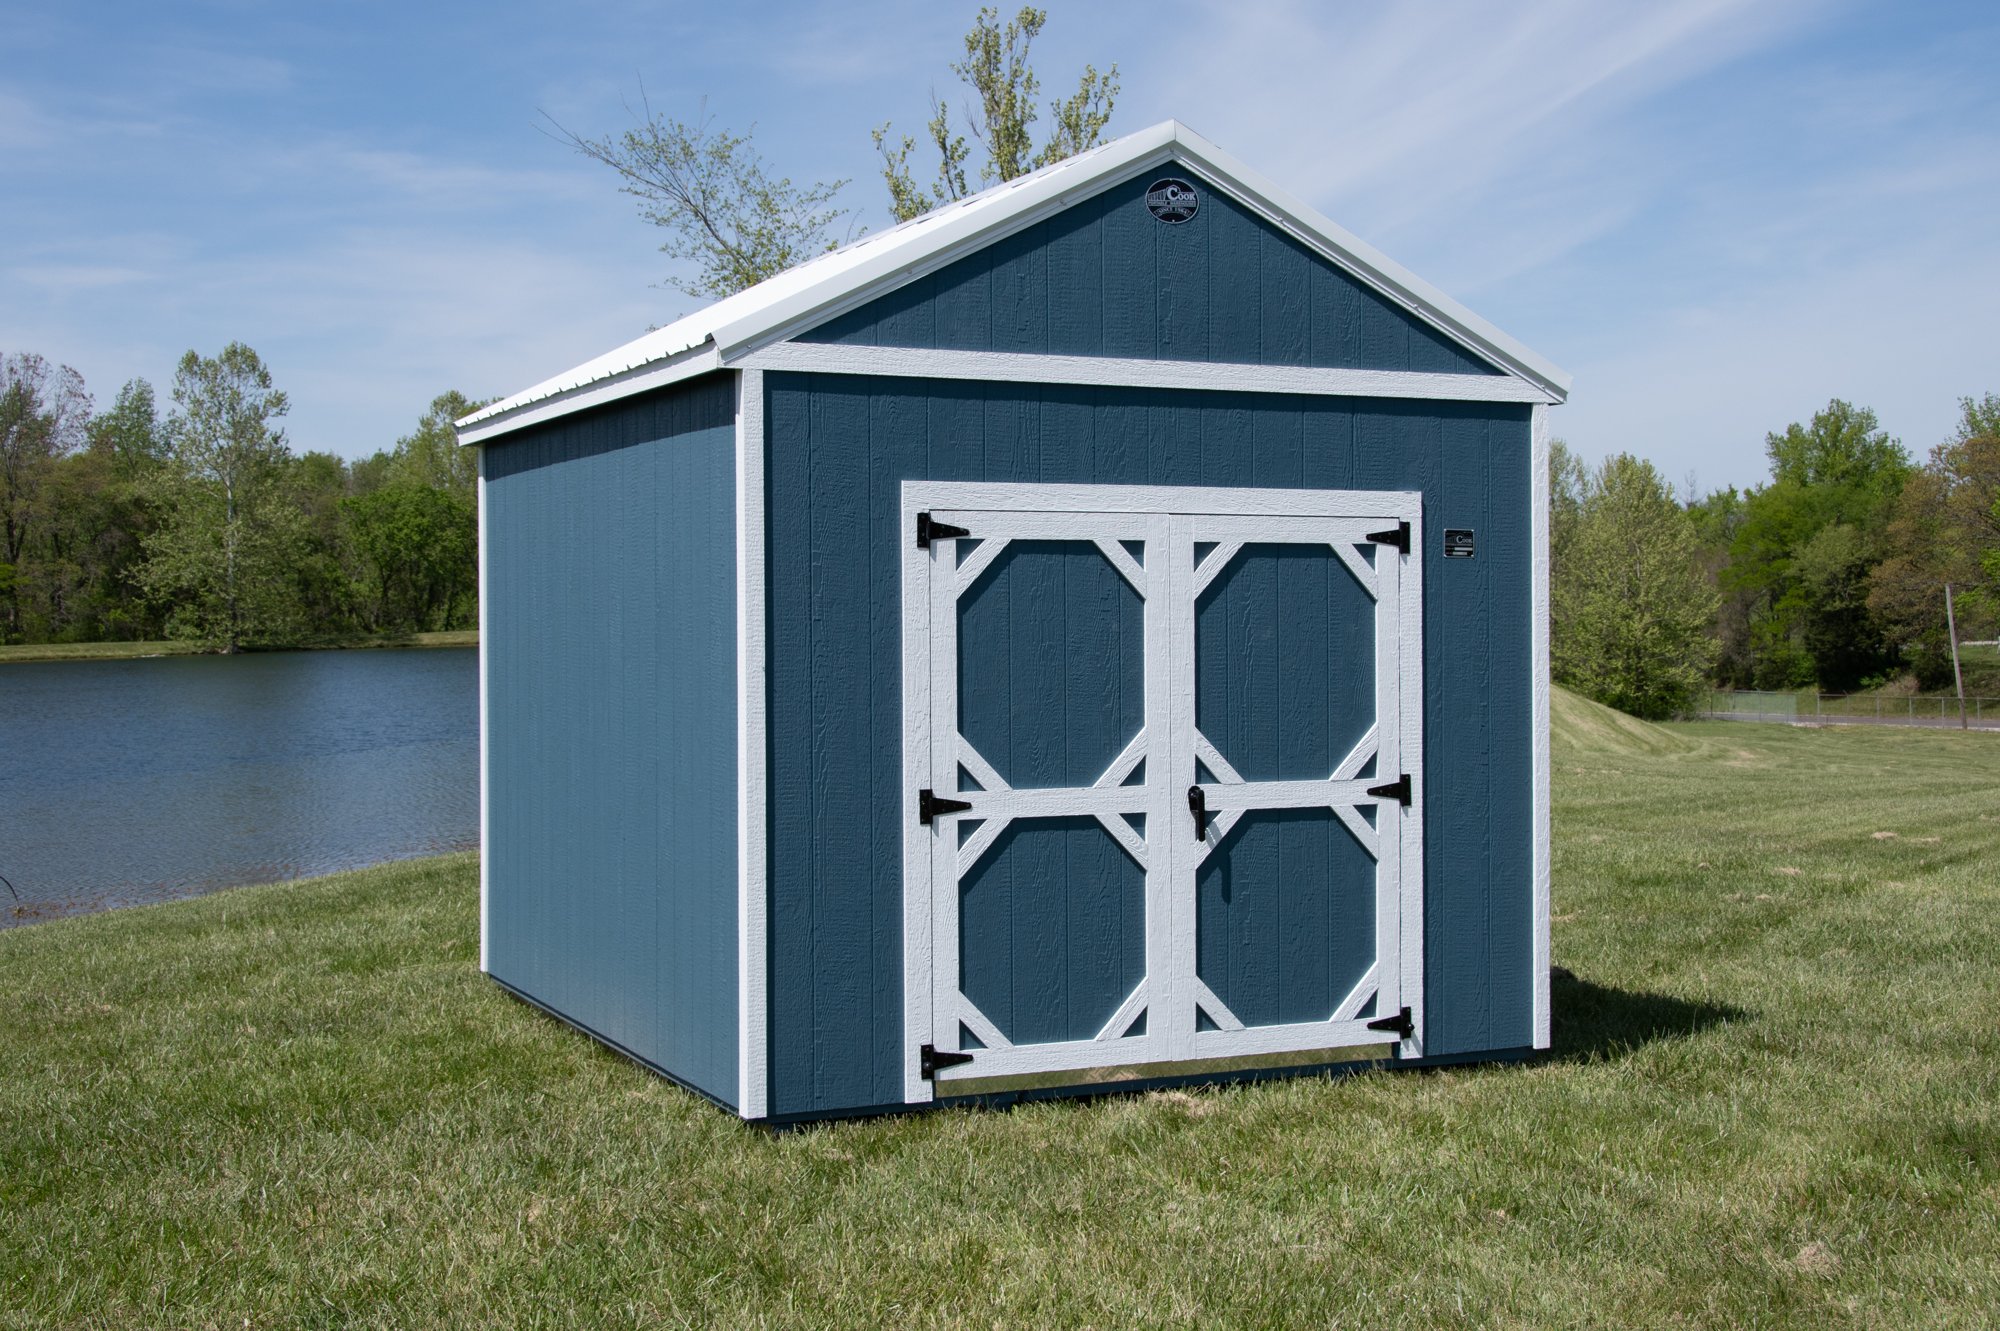
To prepare your site for a Cook portable building, pick a level, well-drained spot, clear it of grass and debris, and build a gravel pad about 12 inches larger than the building on every side. Confirm the delivery truck can reach it, then let your local dealer’s free on-site check verify the exact details before delivery day.
Cook buildings arrive fully built and are set in place on your prepared base — they are not poured on a permanent foundation. The ground work is yours to handle ahead of time, and getting it right protects the wood, keeps doors and windows square, and prevents a delivery that can’t be completed.
1. Pick the right spot
Walk your property and look for the flattest, driest ground you have. Ground that already sheds water away from itself — slightly high rather than a low pocket where puddles form — beats a spot that’s convenient but soggy. Avoid the base of a slope where runoff collects, and steer clear of downspout outfalls and areas where you’ve seen standing water after a storm.
Think about how you’ll use the building, too. If you’re storing a mower and yard gear in a Utility-style building or potting plants in a Garden Shed, face the doors toward the path you’ll actually use every day, and leave room to swing them fully open.
Check local rules first
Before you commit to a location, confirm setback distances from property lines and check whether your area requires a permit for a portable building. Our shed permit guides walk through what to look for so you don’t set your pad somewhere you’ll have to move it.
2. Clear and level the ground
Once you’ve chosen the spot, strip it down to a clean, level working surface:
- Remove sod, grass, and roots across the full footprint plus a foot or so of margin all around.
- Pull out rocks, stumps, and debris that would create high spots.
- Knock down high ground and fill low ground until the pad area is as level as you can get it — a long board with a level laid across it shows you where you’re off.
Level matters more than most people expect. A building set on uneven ground can rack over time, and that’s what makes doors bind and windows stick. Get the base flat now and the building stays square for years.
3. Build a gravel pad
A gravel pad is the best base for a wood building. Set the building straight on grass or bare dirt and moisture stays trapped against the wood floor and skids, wicking up into the lumber and shortening its life. Gravel breaks that contact and lets water drain straight through instead of pooling underneath.
Use crushed gravel — a crusher-run or #57-style stone compacts well and drains freely — spread and tamped to a firm, level surface. Aim for a pad roughly 3 to 4 inches deep so it stays put and keeps the wood up off the ground.
Size the pad bigger than the building
Make the gravel pad about 12 inches larger than the building footprint on every side. For a building that’s 12 ft wide by 20 ft long, that’s a pad roughly 14 ft by 22 ft. The extra border keeps splash and runoff from undercutting the edges and gives you clean, dry footing to walk around the building. Your dealer confirms the exact pad size for your specific building and lot.
4. Grade for drainage
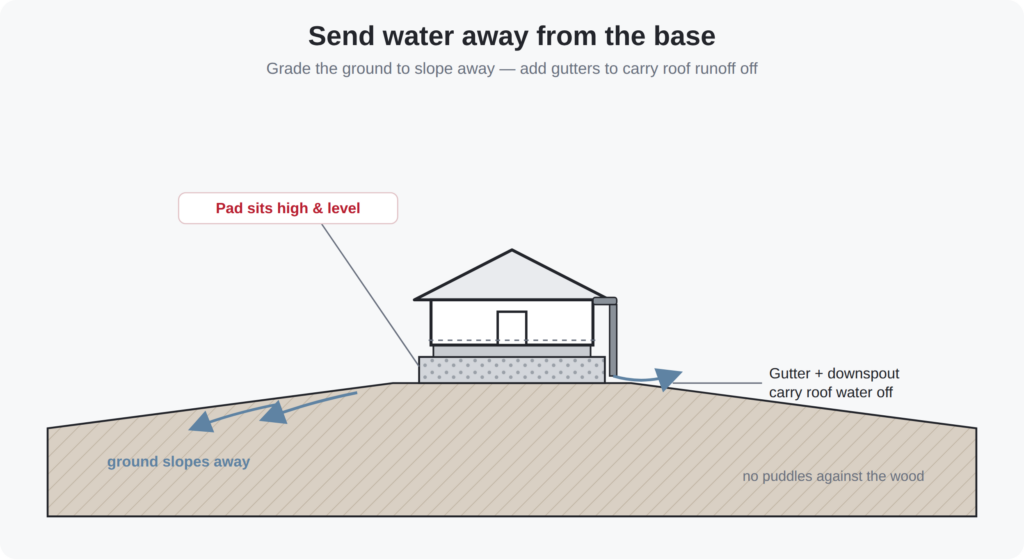
Even a great pad fails if water runs toward it. Check the whole area around your spot and make sure the ground slopes away from the building on all sides, so rain sheds off rather than collecting under the floor.
- Give the surrounding grade a gentle fall away from the pad — even a slight slope moves water.
- Redirect downspouts and any obvious runoff paths so they don’t drain across the pad.
- On heavy clay or a naturally wet lot, consider a shallow swale or a little extra gravel depth to keep the base draining.
5. Clear the delivery path
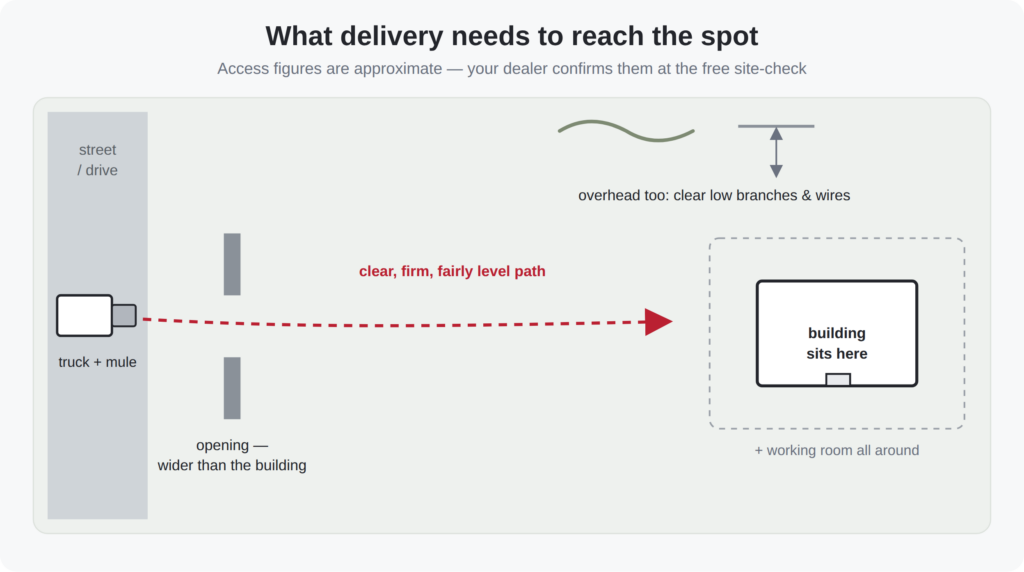
Cook buildings are delivered fully assembled and maneuvered into place, so the truck and delivery equipment need real room to get in. These access figures are approximate — your dealer confirms the exact access needed for your lot during the free on-site check:
- Overhead: roughly 14 ft of overhead clearance for the delivery truck and mule — watch for low branches, power and utility lines, eaves, and gateways.
- Sides: about 2 ft of clearance on each side of the building as it moves through.
- Approach: about a 40 ft straight approach to line the building up and set it down.
Walk the route the day before and clear anything in the way — move vehicles, trailers, patio furniture, trash cans, and planters; trim overhanging limbs; and open or unlatch gates. Soft, muddy ground along the path can also stop a delivery, so let it dry out if you can. A Lofted Garage and other larger styles need especially generous room, so measure your tightest pinch point before delivery day.
Before-delivery-day checklist
- Confirmed setbacks and any permit requirements for your area.
- Chosen a level, well-drained spot with doors facing where you’ll use them.
- Cleared sod, roots, rocks, and debris across the footprint plus margin.
- Leveled the ground and built a compacted gravel pad about 12″ past the footprint on each side.
- Graded surrounding ground to slope away and redirected downspouts.
- Cleared the full delivery path — overhead, both sides, and a straight approach.
- Booked your dealer’s free on-site check to verify access and pad before the build is delivered.
Not sure whether your spot will work? Your local Cook dealer does a free on-site check to confirm access, grade, and pad size for your exact lot — and can answer questions about buying options, including Rent-to-Own — Ask Your Dealer.
With the ground prepped and the path clear, delivery day is quick: your building shows up finished and gets set right where you planned it. If you’re still choosing a style, a Lofted Barn gives you the most usable storage with its overhead loft, while a Garden Shed suits lighter yard-and-hobby use.